Well pumping station: rules for selecting, installing and connecting equipment

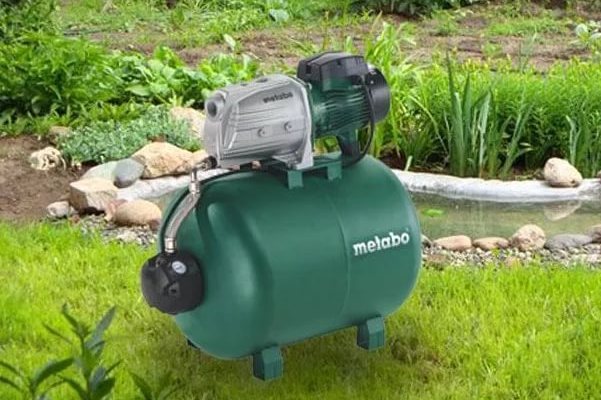
The use of a pumping station in the intake of water from a mine well significantly increases the comfort level of suburban life. The process of filling containers for cooking and hygienic procedures takes several minutes and does not require the least effort from the owners. Do not you think that saving both energy and time is extremely useful?
To all who strive for an effective arrangement of the site, we offer carefully selected information. Here you will find information about which pumping station for the well will be the ideal solution. We will tell you how to install the equipment and make the connection.
The article describes in detail the installation of a water supply system based on a pumping station. The nuances of connecting the water supply and electrical parts were thoroughly disassembled. The information proposed for consideration is perfectly complemented by photo selections, diagrams and videos.
The content of the article:
Pros and cons of the pumping station
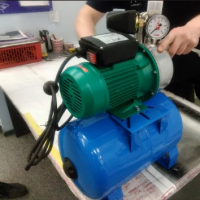
At pumping station There are disadvantages and advantages. First of all, it is very convenient - all the basic mechanisms are arranged in a single unit, and therefore simply during the acquisition, adjustment, installation, maintenance.
Requires a minimum of additional expenses. The system has innate immunity to water hammer - pressure surges when opening and closing the supply valves.
There are only two cons, and both are insignificant. The installation is noisy. The second relative minus is the impossibility of without additional mechanisms for raising water from depths above 8-10 meters.

Noise is neutralized by installation and placement conditions. The lifting depth can be increased by the introduction of an additional device - ejector.
They are of two types. Built-in and external, remote. The built-in differs in greater productivity, but increases the noise of the whole structure. As already mentioned, this drawback is treated with attention to installation and placement.

Power and model selection
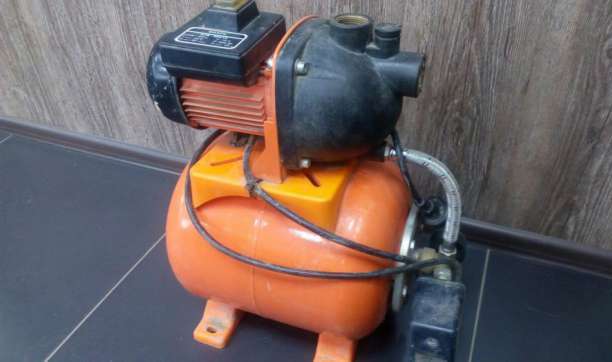
Even a small and low-power installation is capable of providing solid performance sufficient to supply water to several consumers. To argue about the merits of a particular brand is completely useless - this is how to discuss cars. Everyone has their fans.
The main factor affecting productivity is the volume of the drive - the pump runs intermittently. His task is to pump water into accumulatoras soon as the pressure drops below a predetermined level.
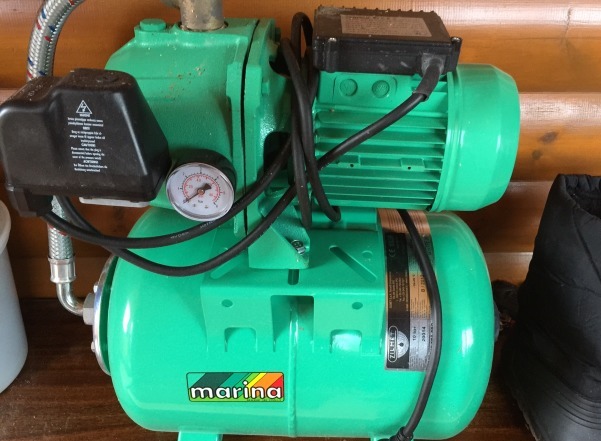
But the flow rate and pressure in the network are already supported by the accumulator. Consequently, the larger it is in volume, the less automation is triggered, the lower the starting load on the engine.
It should also be borne in mind that half of the volume of the storage tank is occupied by compressed air, which provides pressure in the system and water displacement. Therefore, only part of the tank volume is filled with water. And, with the pump turned off, the consumer can only rely on it.
The required volume depends on many factors: the number of residents, installed equipment, and so on.
But schematically, it looks like this:
- one or two people or a summer residence, where there is only one wash basin or a primitive shower - the accumulator volume is 24 liters;
- three to four people should already be looking at sizes of 50 liters or more;
- over 5 people - minimum tank volume of 100 liters.
In addition to performance characteristics that must be taken into account, there are optional options. For example, the presence of a dry start relay. It is not necessary in the design, but it is quite capable under certain conditions to extend the life of the station or prevent its breakdown. Unfortunately, it slightly increases the cost and complexity of the system.

Determining the installation location
It is best to place the pressure station as close to the point of the fence as possible. In this case, the inertia of the system is reduced. She responds faster to water consumption and quickly replenishes it.
That is, the whole system works more smoothly, without pressure surges, more stably. So in an ideal world, the best solution would be to install a pumping station in the well. Which is not always possible.

Option # 1 - installation directly in the well
At installation in the well solves the problem of removing the station from the source. Noise of mechanisms also does not affect comfortable operation in any way - the engine runs outside the living area.
There are also disadvantages. First of all, the working conditions of the mechanisms are improved - mainly increased humidity. Measures for waterproofing and sealing the nodes do not give the expected effect - due to condensation.
Installation of the station inside the well shaft can be performed in two ways:
- removable mount with fastening for the upper surface of the well shaft;
- wall bracket in the well trunk.
Both methods are approximately equivalent. The first is a little simpler, the second is more compact. Both of them interfere with other methods of raising water - a bucket, for example, is already inconvenient to manipulate, and inevitably, dripping water does not add to the station's service life.
Additionally, the well will require insulation of the ground part. Of course, the temperature of water and soil at such a depth is invariably positive, but surface, local freezing of water and the formation of ice are possible - even this is completely contraindicated for a pump installation.

Option # 2 - caisson or separate room
There is also the option of installing the pumping station in a special service well dug from the main one serving for water supply - this is called installation in caisson. An alternative to it will be the installation of equipment in the ground office premises.
The coffered installation method has the same advantages as installation directly in the well. Quiet, close to the fence point, convenient. Most often, the caisson is mounted as close as possible to the well rings - with a much smaller depth, naturally.
Of the negative points, it is worth noting the possibility of condensation. And the need serious insulation, and the most thorough. And, if possible, the fight against condensate. This is all with the highest quality waterproofing - soil moisture in the caisson is completely unnecessary.
There are also mandatory measures to prevent melt or rain water from getting inside the caisson - in most cases they are decided by the hatch design. The rest will have to tinker.
The construction of a ground storage room especially for a pumping station is quite simple from the point of view of technology. But here, warming is required. And, since the location is ground-based, heating concerns are added to the need for insulation. Minus temperatures are unacceptable in the room where the pump station is mounted.

Option # 3 - inside the house
The third placement option is inside the house in which the water supply is organized. Due to the noise of the equipment, it is best to install it separately - usually a boiler room or a basement is used for these purposes. But, in conditions of lack of space, installation can be done in the bathroom or laundry room, basement or under the stairs.
In any case, you should take care of sound insulation. Otherwise, living in such a house will be, to put it mildly, not very comfortable. And if the option of installing the station in the basement is chosen, then the need for additional waterproofing should be checked. If the basement is wet.
When the pumping station is mounted in the house, we always remember about the removal from the supply well. This factor can also correct the installation point already relative to the internal geography of the house.

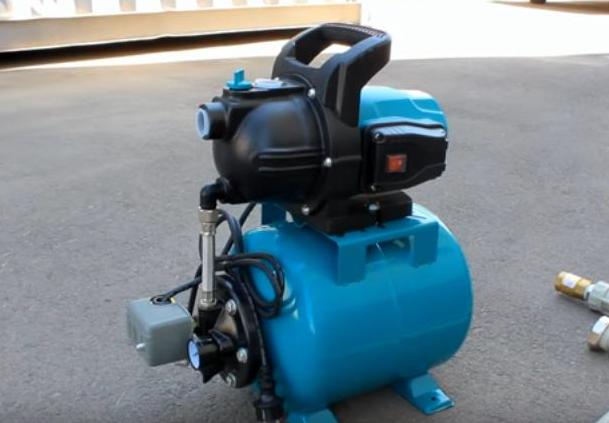
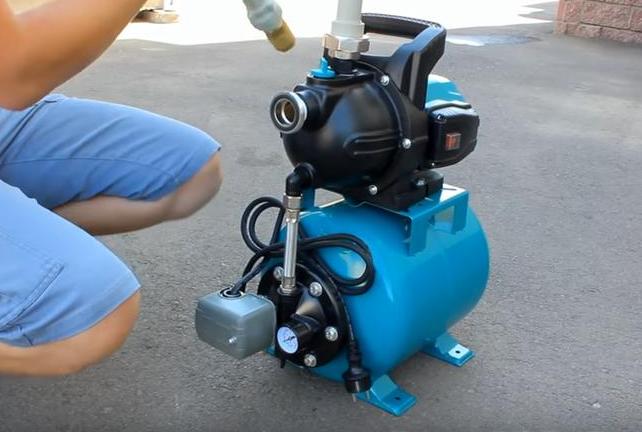
Installation requirements for the main unit
Directly the station itself should also be installed according to certain rules. It is bolted to the base. The base is preferably concrete. Rigid steel frame from profile hire is allowed. Its construction is welded or bolted.
It is very useful to install hard rubber on a gasket from a thick sheet - this shock absorber will reduce shock loads when turned on and reduce the noise level.
Much less often, spring steel shock absorbers are used for this purpose, placed under the base, according to the type of attachment of the eccentric exciter of the vibrating table.
But such a fastening, at the slightest weakening or misregulation, is able to break the mounting sockets on the base of the station and create unnecessary loads on plumbing fittings - the amplitude of oscillations is too large. So the best option would be a hard rubber sheet up to 3 centimeters thick. The stiffness is about the same as that of the tread of a summer car tire.
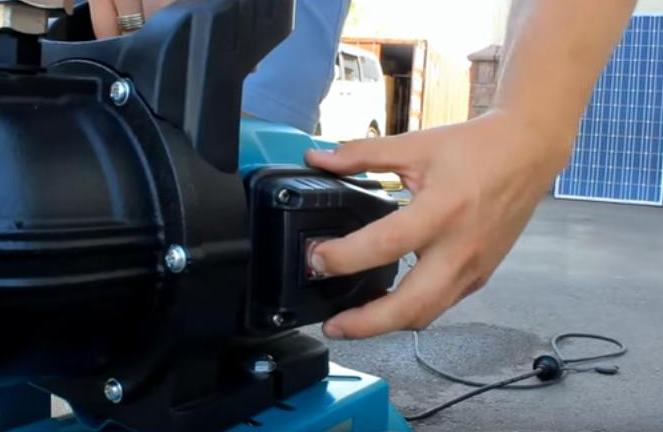
It is important to pay due attention to the electrical part. Be sure to connect the station casing to the ground loop - regardless of the choice of installation location. Very helpful RCD application (residual current circuit breaker - the second name of this mechanism is “differential current device”) - especially if the option with a caisson is selected or the installation was made directly in the well.

In any case, the station must have an individual protective electric circuit - at least an automatic circuit breaker with a trip current slightly higher than the rated starting current of the installation.
In addition, the life of the electrical part of the station is positively affected by the presence of stabilizers, line filters and uninterruptible power supplies. Maybe they themselves will not be able to exert a significant influence on the engine itself, but for electronics as part of the station automation unit, such an addition will be very useful.
Water supply network arrangement
Technically, connecting a pumping station to a well can be divided into two sections. Before and after the station. There is an important difference between them. Figuratively speaking: to the station - the sphere of influence of the pump itself.
After the station, this is the area of concern for the accumulator tank, since it is he who is responsible for the flow of water and the creation of pressure in the water supply system. Therefore, it is easier to consider them separately. Moreover, they can use a variety of pipes.

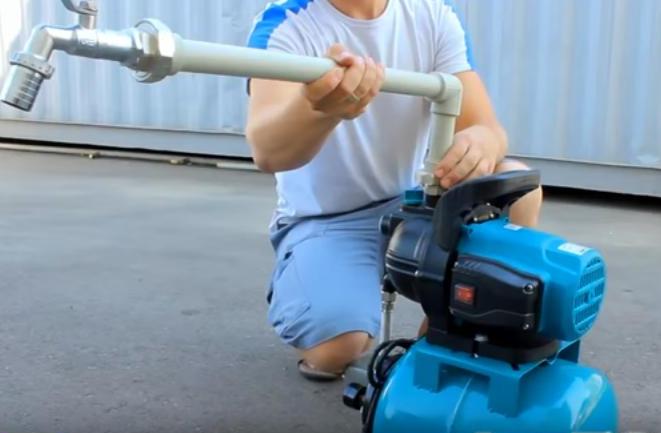
Intake part of the water supply system
This part of the overall circuit is located between the pumping station and the well. It is through it that water is drawn and the system is powered. Its device is simple, but there are several important points.
Most often, a PND pipe with a diameter of 32 mm goes to the fence. A feed pipe of this cross section will not create unnecessary loads on the pump. The plastic pipe is easier to tolerate freezing, water hammer. Not afraid of corrosion. Therefore, it is preferable in such a role. One end is lowered into the water, the second is connected to the station.
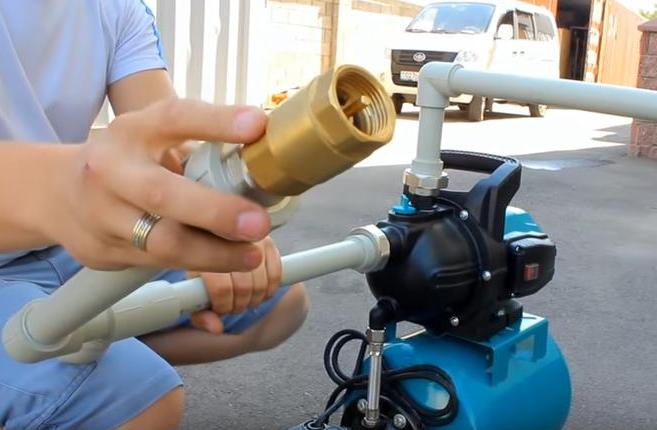
On the water side, a casing sleeve is attached to the pipe. A check valve is screwed onto it, preventing the flow of water from moving back into the well. Thus, the valve prevents the system from emptying - it remains always full.
A special mesh tip should be screwed onto the valve. The grid plays the role of a coarse filter that traps the sand suspension and large fractions that can be found in water.
Most often, the return filter has a fitting thread per inch. So in this unit, couplings with a transition of 32 - 1PH are required.
It is better to remove the pipe from the well at a level below the depth of freezing of the soil. You can insulate the pipe and pass through the top, but still it is better to let it go to the house at a depth. If this is not possible, then it is good to supplement the insulating shell with a special electric heater for pipes - it will prevent freezing of water.

The pipe is led underground, at a depth below the estimated freezing. Most often, this value is 1.4 - 1.8 meters. Depends on the region. Entering the house is best done at the same depth. If it does not work out, then the input must be insulated, and very, very carefully. The insulation should begin below again the depth of freezing.
When they lead a pipe through a trench, then before you fill it with soil, it would be nice to fill it with sand. The sandy layer will not give any serious advantages in drainage or similar things, but later it can serve as a good indicator - sand during digging will signal the proximity of the pipe.
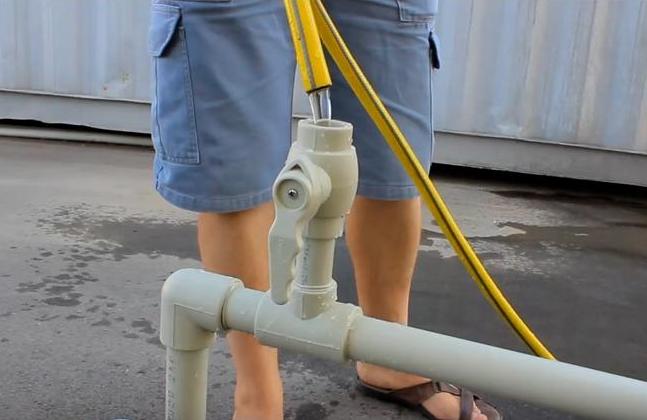
The feed pipe ends with a crimp sleeve with a transition to an inch thread for connection to the station. On this site, it would be nice to put another additional strainer (optional) and a collapsible fitting "American". Already necessary - it is needed in case of prevention or repair of the station. Shutoff valves and additional water purification systems in this area are not necessary.

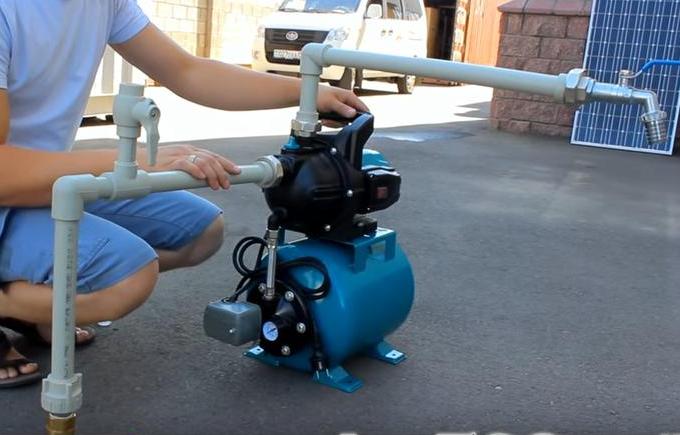
Water supply after the pumping station
The outlet of the pumping station typically has a 1 inch thread. But this diameter is not so important when installing the system - it can be easily reduced to half an inch. The supply line is no longer operated by a pump, but by a hydraulic accumulator. Therefore, a possible increase in the load due to the smaller cross-section of the pipeline does not play a role.
So many people put a transitional foot from an inch to a half during installation - thus saving money on the further assembly of the system, since pipes and fittings of smaller diameter are cheaper.
A shut-off ball valve is screwed into the foot in case of carrying out preventive and repair work with the system. From a ball valve through a collapsible "American" they already make an exit to the water supply system of the house. Its features already depend on which pipes are used in the house - polypropylene, metal or traditional metal pipes.

Immediately after the shut-off ball valve, a flask with a water purification filter is also inserted. It is impractical to put it to the station. It works better with a uniform flow of water, which is only possible after pumping station - on the supply line to the station, the water moves too impulsively, with a higher peak power. After the accumulator, its movement is more predictable and stable.
The filter must also be cut off from the system by taps - in case of replacement. And here it is nice to provide a bypass line - in case this replacement is delayed for one reason or another. Naturally, this bypass must also overlap. Otherwise, the flow of water will always go through it - according to the rule of least resistance.
After the filter, it is already possible to branch the trunk - to cold and hot water supply, to the supply branch for the heating system and so on. Before the filter, you can make a tap for the needs of watering the site - plants are not as demanding on water quality as a person. For other purposes, it is better to let the prepared water.
The characteristics of the filter depend on the characteristics of the water in the well. They can be determined after a conclusion on the composition of water. Sometimes even several filters may be required - for example, against calcareous inclusions and glandular compounds. Universal types do not exist in nature.
If only seasonal operation of the water supply system is planned (for example, in a country house), then fittings for lowering the system should be installed. Usually this is a simple tap at its lowest point.

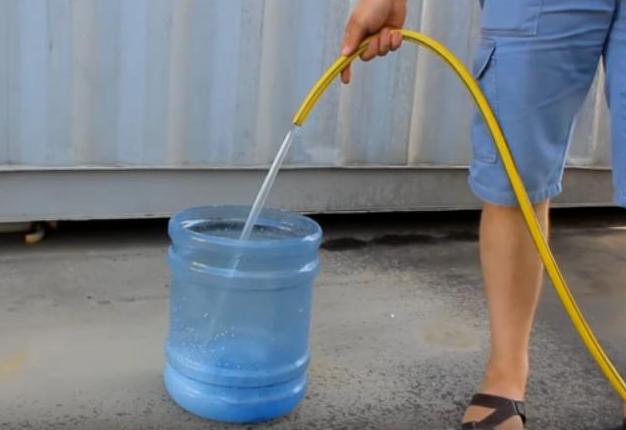
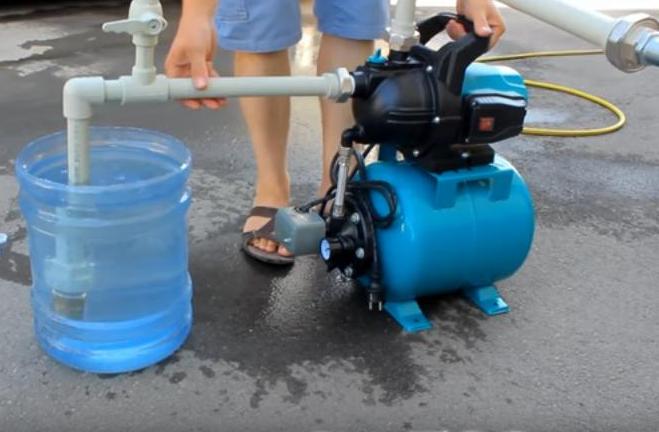
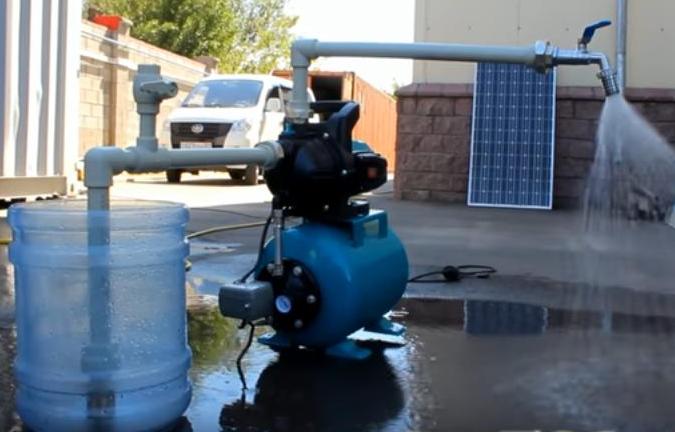
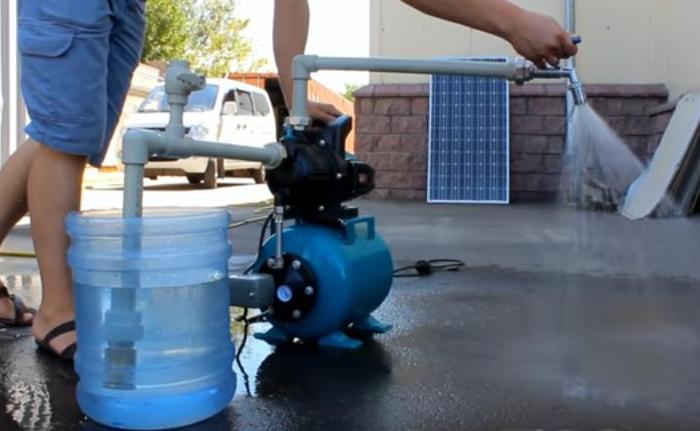
Commissioning and testing the station
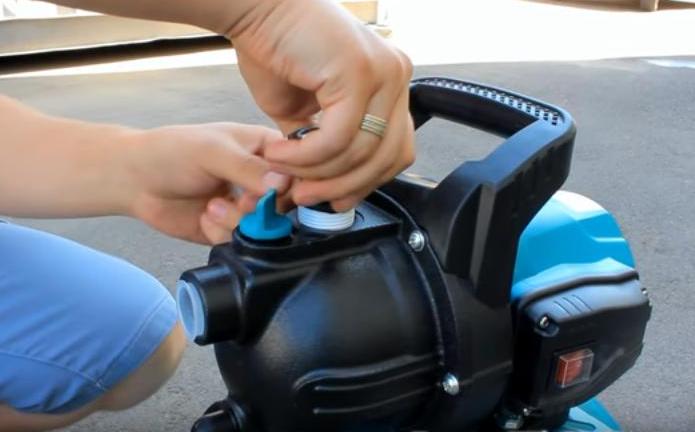
The first start-up after installation or the restoration of the system after a long “dry” is simple, although it requires certain manipulations. Its purpose is to fill the system with water until the first inclusion in the network.
This is a simple procedure that does not require special skills. There is a plug on the pump that must be unscrewed.A simple funnel is inserted into the hole through which the system is filled - it is important to fill the supply pipe and pump with a hydraulic accumulator. At this stage, a little patience is required - it is important not to leave air bubbles.
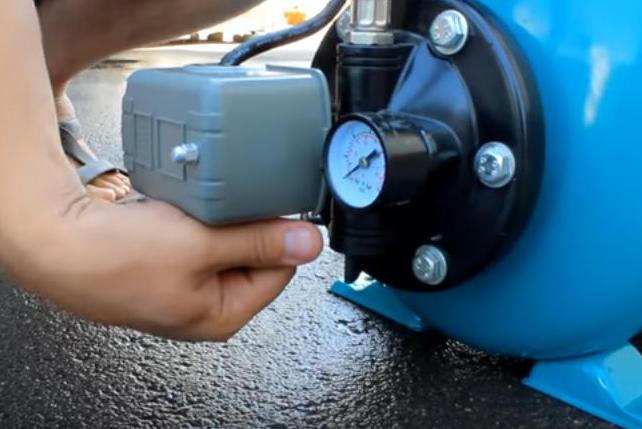
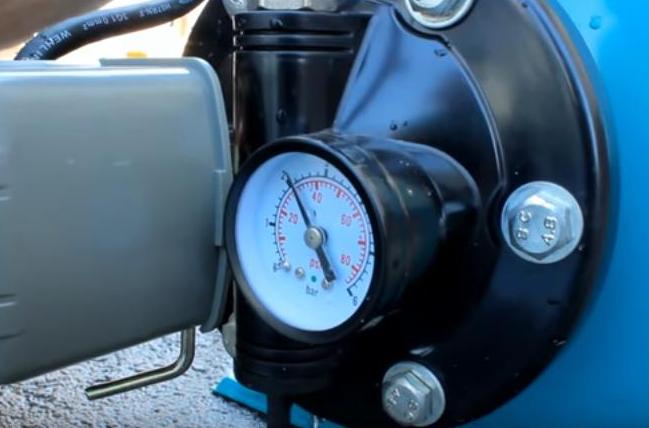
Pour water to the neck of the cork, which is then twisted again. Then, using a simple automobile pressure gauge, check the air pressure in the accumulator. The system is ready to start.
To make it easier to test the pumping station, we have prepared 2 galleries for you.
Part 1:
Part 2:
Conclusions and useful video on the topic
A small video memo on installing a pumping station:
In the future, the pumping station does not require special care or increased attention. And, subject to the rules of installation and operation, it serves for a long time and reliably.
Have you already faced with the selection and installation of a pumping station for a well and can you supplement our material with practical advice? Please share your experience and knowledge with visitors to the site in the block below.
 DIY pump station: wiring diagrams and installation rules
  Pumping station for a summer residence: rating of affordable and efficient equipment
 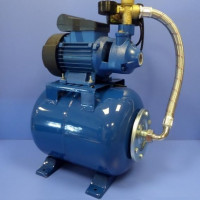 Pumping station without accumulator: operation features and water supply devices without hydraulic tank
 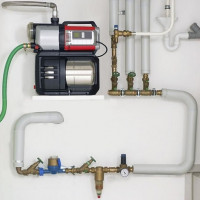 Pumping station for a private house: how to choose and what to look at before buying
 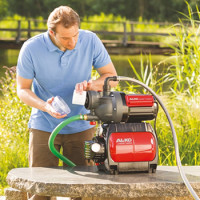 Adjustment of the pumping station: rules and algorithm for setting up the equipment
 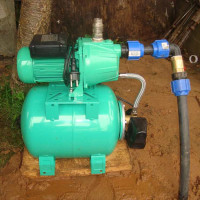 Ejector for a pumping station: operating principle, device, installation rules
  How much does it cost to connect gas to a private house: the price of organizing gas supply
  The best washing machines with dryer: model rating and customer tips
  What is the color temperature of light and the nuances of choosing the temperature of the lamps to suit your needs
  Replacement of a geyser in an apartment: replacement paperwork + basic norms and requirements
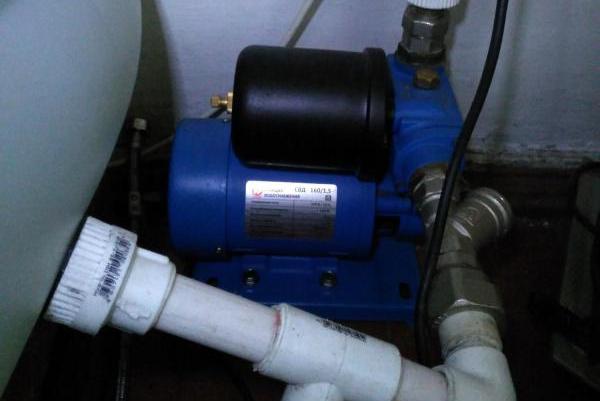
A well has recently been dug in their summer cottage. They read on the Internet that it was necessary to install a pump station for the convenience of supplying water to the house. On all the pros and cons of the pumping station, in principle, it is clear. Tell me, is it possible to complete the installation of such a station yourself or if you need to contact professionals, how often do you need to replace the filter, and is it possible to replace it yourself?
Hello. The frequency of filter replacement and cleaning depends on the type of equipment purchased and, of course, on water quality. To clean and change yourself is quite real.
A rare case when everything is in place. Bow!