How to make a vacuum cleaner with your own hands: detailed instructions for assembling a homemade appliance

“He has golden hands” - this is what they say about masters who are able to assemble the miracle of modern technology from improvised materials. Despite the abundance of inexpensive ready-made equipment in stores, self-taught craftsmen successfully design and create household appliances, units for the garden plot and very effective devices for the workshop.
It turns out that you can also assemble a vacuum cleaner with your own hands. The main thing is to understand the design, find the necessary details and allocate some free time. We offer three interesting models for independent experiments.
The content of the article:
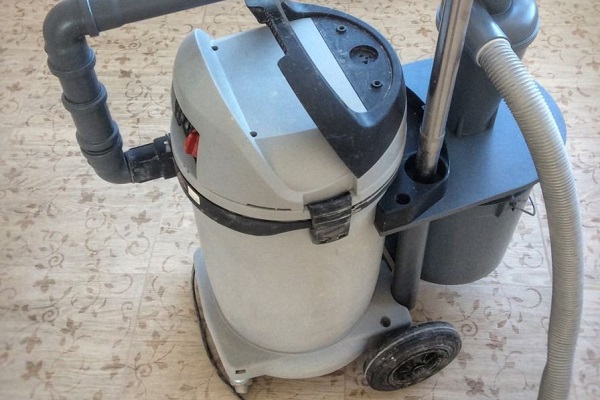
Construction vacuum cleaner from an old household
If you constantly deal with technology, the design features and operating principles become clear.
And if necessary, you will no longer spend money on branded construction vacuum cleaner, and in a couple of evenings you will make a device that is not inferior in characteristics to the untwisted “cleaner”.

So did the author of a construction model, working on the basis of a failed Whirlwind vacuum cleaner. We offer you to get acquainted with the manufacturing process of a construction vacuum cleaner.
In the manufacture of homemade products should take into account the features of the room and some of the nuances of the selection and fastening of individual structural elements. The following are helpful tips for vacuum cleaner assembly.
What will be needed for alteration?
Literally all the products involved in the modernization have already been used, therefore, do not require acquisition costs. If some details were not found at hand, they can be bought for a penny on the online sales site or found in a landfill.
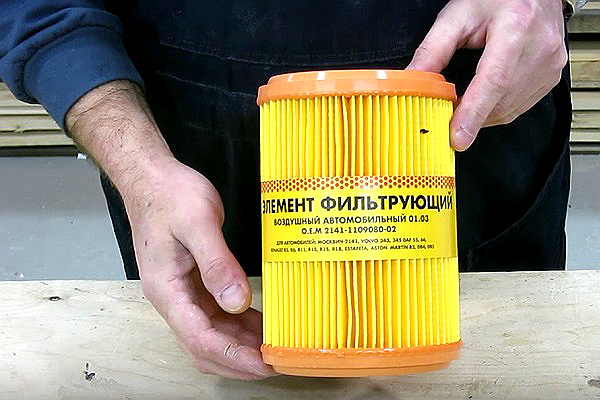
True, it is recommended that you nevertheless use a new filter - for the high-quality operation of the vacuum cleaner, as well as buy some little things: a socket, parts for an electric board, wires, fasteners.
The total cost of purchasing new parts amounted to 800 rubles., And the socket turned out to be the most expensive element - 350 rubles. Details for the board cost 250 rubles., Filter - 200 rubles.
In addition to the listed parts, you will need a socket, a piece of rubber car mat for laying, a tool for work:
- drill with a set of crowns and drills;
- screwdriver;
- jigsaw;
- pencil with a ruler, compass.
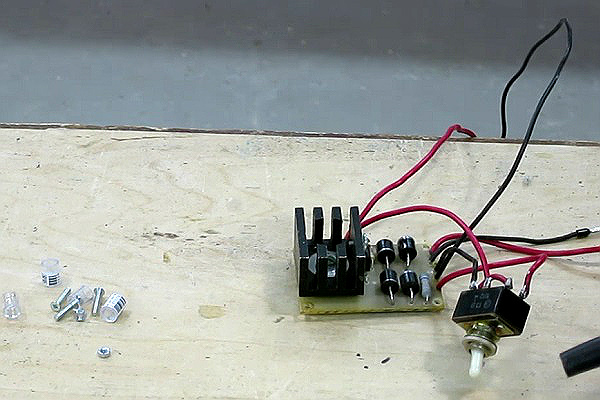
As fasteners there will be not only self-tapping screws, but also bolts, therefore, to tighten the nuts, wrenches of the right size will be required. To connect individual elements - a switch, an electronic board and a network cable - you must draw a diagram in advance.

In order for the improvement of the old device to please a successful result, you need to know how vacuum cleaner works. So the home master will understand what and for what purpose he is modernizing.
Step-by-step manufacturing instructions
When all the details of the future unit and tools are prepared, you can proceed with the assembly. But first you need to comply with safety standards - wear protective clothing, work gloves.
Operating procedure:
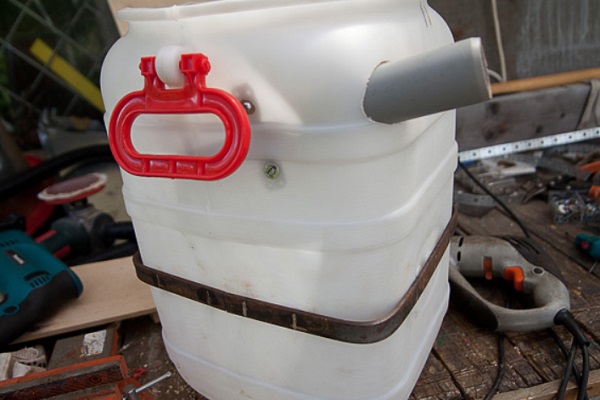
- Step 1 - Installing an Outlet. We drill a hole in the upper part of the lid with a 42 mm diameter crown. Between the outlet and the body we put a rubber gasket cut out of the car mat. For fastening we use self-tapping screws.
- Step 2 - wiring diagram. On the cover, we drill small holes for the toggle switch and for attaching the circuit. The board should not touch the case, so we install it on racks cut from a fountain pen.
- Step 3 - Attaching the Toggle Switch. As a result, a switch and an outlet for a power tool should be installed on the outside of the cover, and an electronic board on the inside.
- Step 4 - Connecting the Power Cable. It is better to solder the cable, with two wires to the switch, and the third grounding goes to the large mounting screw, to which the ground is already connected from the outlet. This is necessary to ground the device.
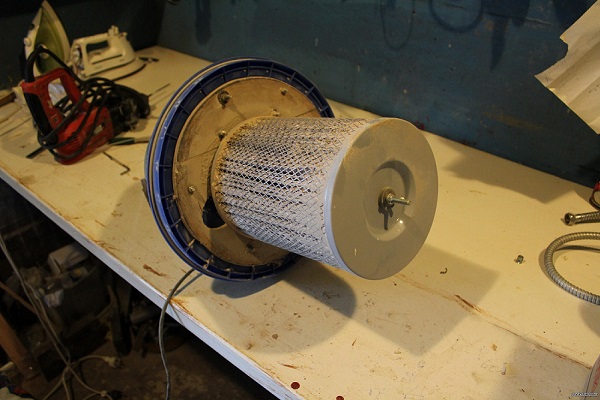
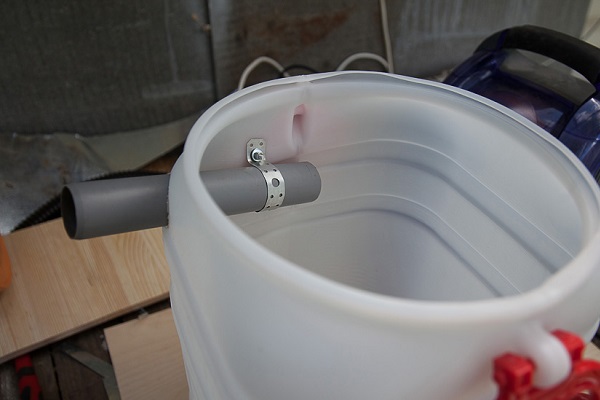
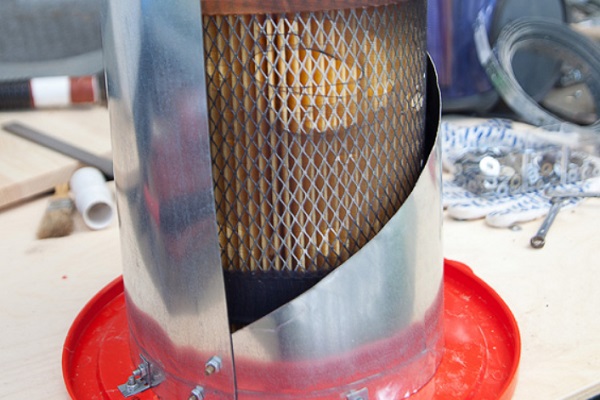
- Step 5 - fixing the filter. Cut 95 mm holes in the bottom of the dust collector and in the tank lid, drill holes for the screws around the circumference, cut a plug out of plywood, tighten all the parts with screws. We fix the filter with a hairpin on the bar.
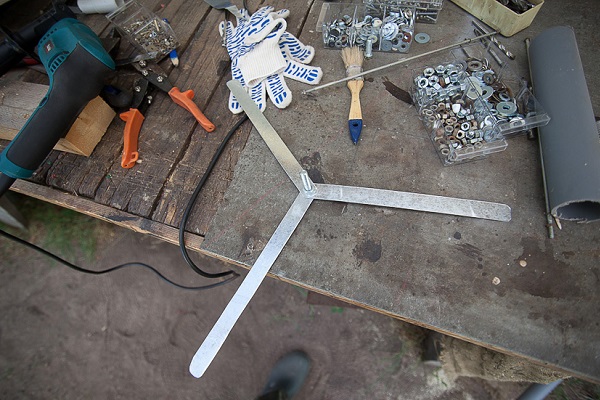
- Step 6 - Install the Suction Pipe. We drill a hole in the top of the tank with a 57 mm crown. We insert into it a pre-assembled pipe with a flange, which can be constructed from a piece of sewer pipe.
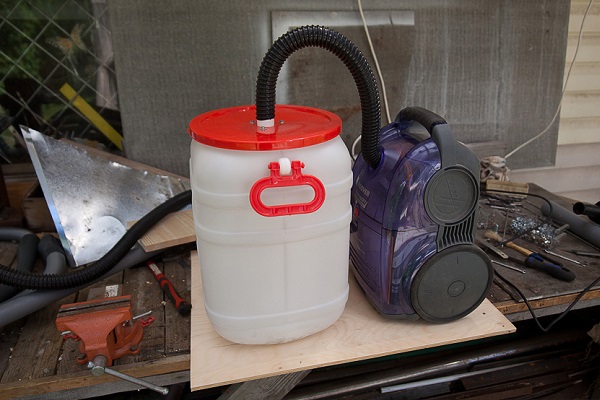
- Step 7 - vacuum cleaner assembly. We install the garbage collection tank, close it with a lid so that the filter is inside. Then we attach a part of the old vacuum cleaner with the engine, tighten it with a metal clamp.
- Step 8 - connecting the hose. Instead of a hose, you can use a plumbing corrugated pipe. We insert it into the connecting pipe, then turn on the unit. Testing can be done by removing sand or sawdust.
During testing, pay attention to the suction power and the tightness of the waste bin. If the parts will not adjoin each other loosely, the power of the unit will noticeably decrease.

But it is necessary to make one more test - with a power tool.
We insert the plug of the jigsaw or circular saw into a socket on the case, turn on the tool. Together with him, the vacuum cleaner should automatically work.
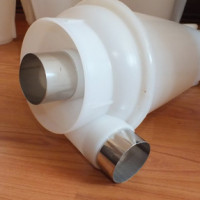
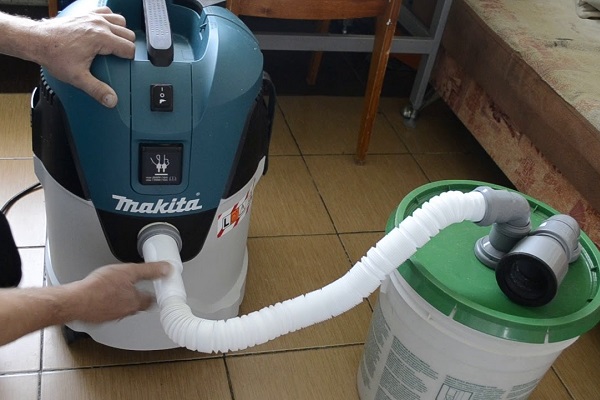
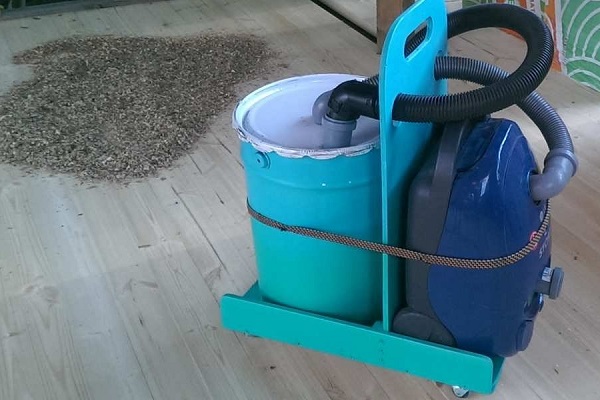
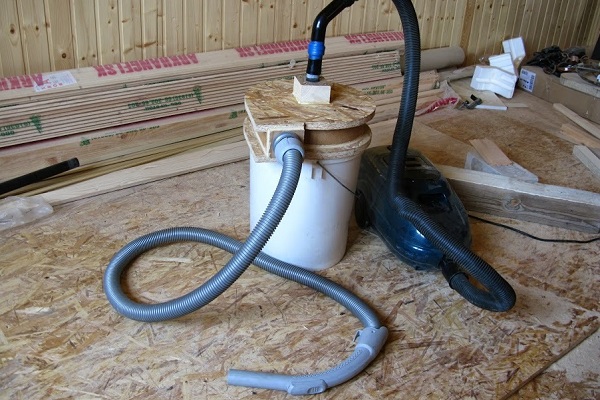
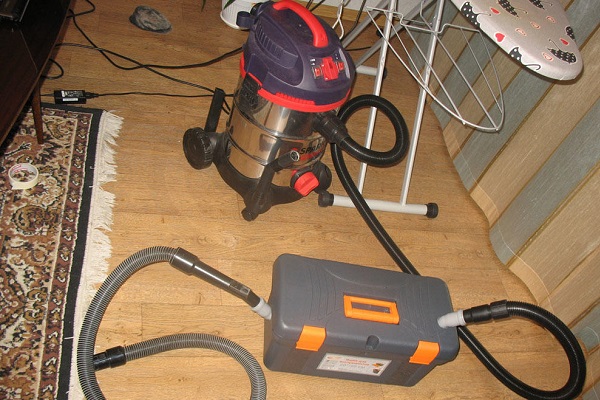
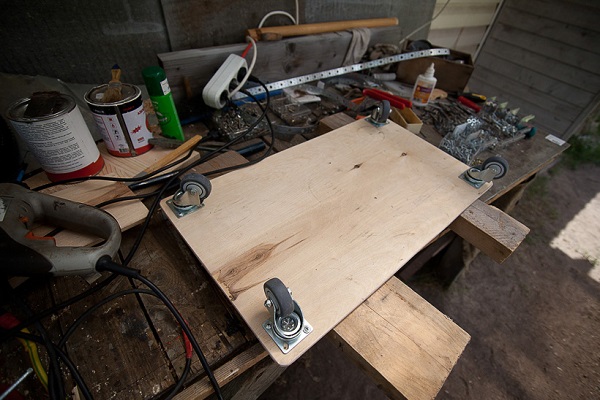
Workshop cyclone vacuum cleaner
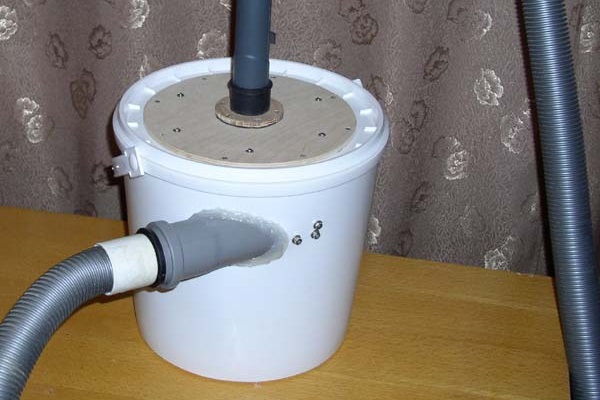
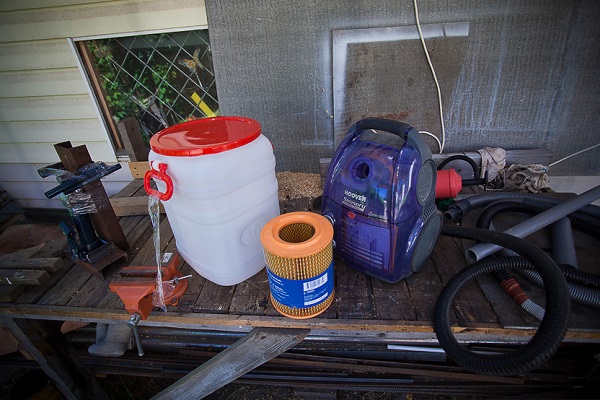
Another version of the construction vacuum cleaner, but with a complicated design. This replacement for a purchased industrial model is made from an old vacuum cleaner, a plastic container and cyclone filter.
The peculiarity lies inside the structure - it is a metal casing for protecting the filter.

The cost of homemade is determined by the costs of individual parts. An old but working household vacuum cleaner was found in the pantry, a plastic tank was purchased for 500 rubles, and a filter for the Gazelle car was 180 rubles. It’s easy to calculate the total cost.
How to do cyclone for vacuum cleaner, you will learn from our article. It details the assembly process.
Build Order:
To test the functioning of the home-made unit, it remains to connect to the power supply. The suction power of the unit should be the same as that of an old vacuum cleaner, if the engine has retained its working qualities.
If you don’t have an old vacuum cleaner, you can buy a used model by announcement - there are many options for trading online portals. Most likely, an outdated device will cost no more than 1 thousand rubles.
Rated cyclone vacuum cleaners The following article will familiarize you with industrial production, which is worth reading both for home craftsmen and future buyers.
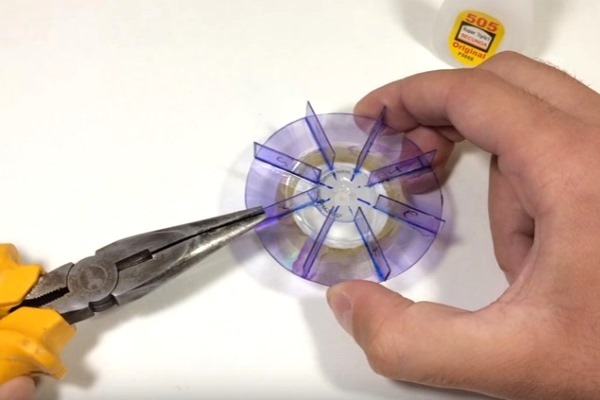
Do-it-yourself portable cleaner
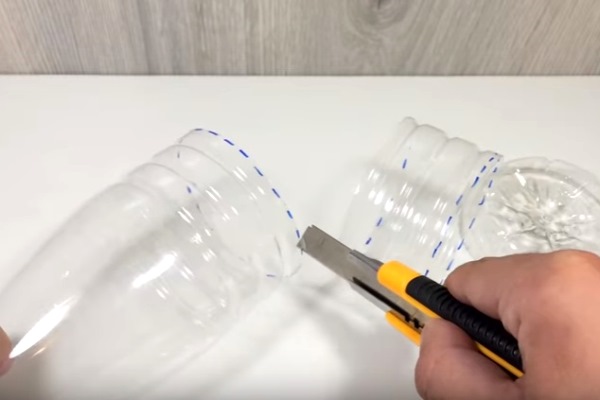
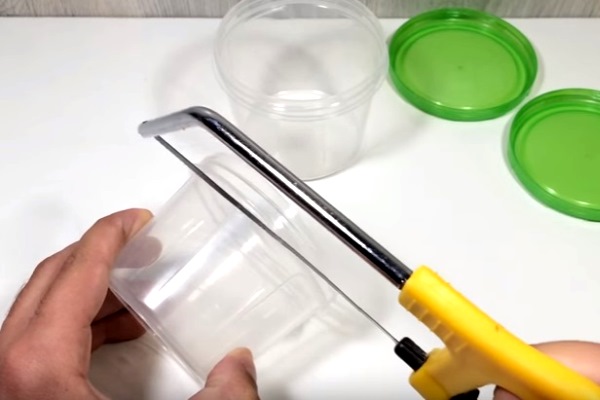
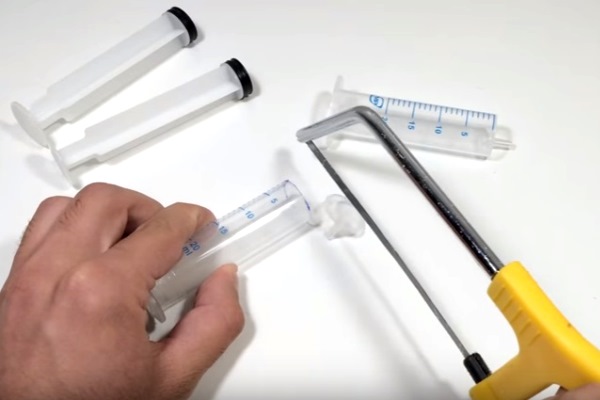
As an experiment, you can collect a miniature vacuum cleaner, which is useful for cleaning crumbs, dust or debris from a table, shelves, window sills.
Tools and materials necessary for the work: a construction knife, a hand jigsaw, a glue gun, hot melt adhesive, a marker, a compass.
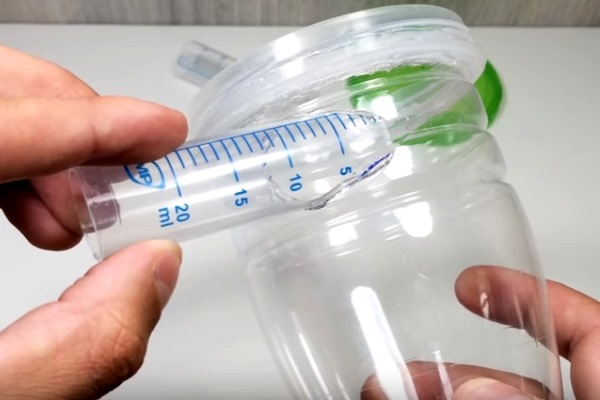
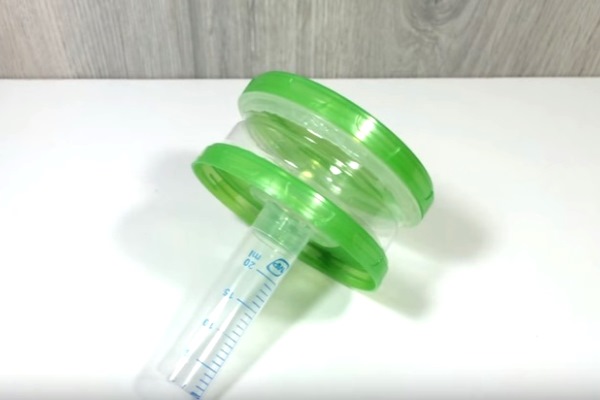
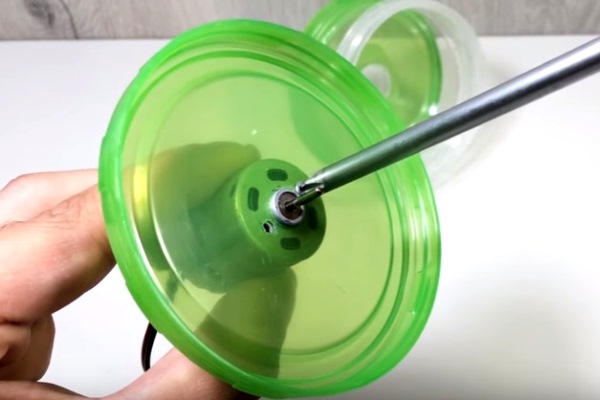
When making all components, it is necessary to adjust the parts to size so that there are no gaps after gluing - for good suction, tightness is required.
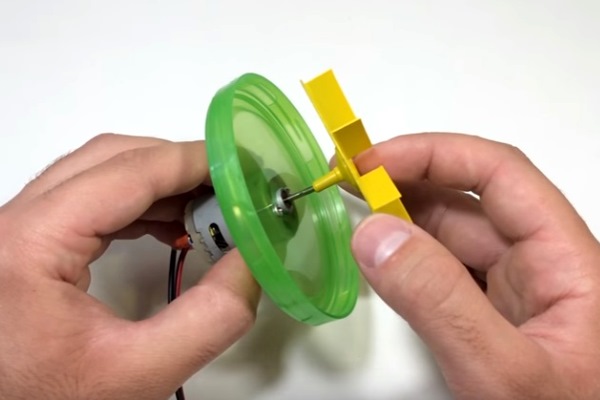
To mount the fan, you need to cut a piece of the syringe with the central location of the needle and stick it in the center of the side opposite to the one where the blades are installed.
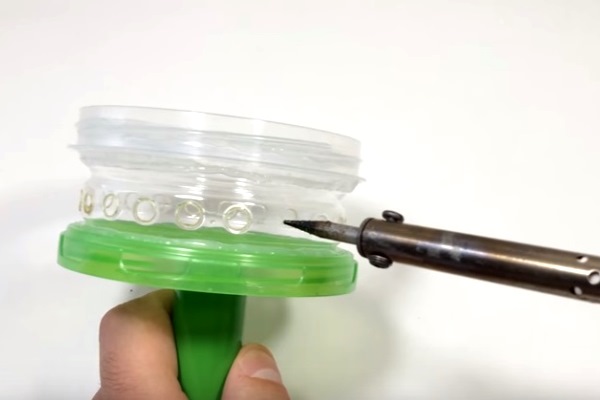
To check the operation of the device, pour crumbs, pieces of paper, groats on the table. When you turn on the hose begins to suck in the garbage that falls into the lower bank - a dust collector.
To clean it, you need to disconnect the cyclone part - in fact, unscrew the bottle from the cork, and then just remove the lid.
Conclusions and useful video on the topic
Another option for a mini vacuum cleaner:
Features of the assembly and operation of homemade products:
An excellent replacement for the brand model of plastic buckets and plumbing pipes:
As you can see, it’s not so difficult to make a powerful building block or a mini-vacuum cleaner yourself. The main thing is to be patient, study all the stages of manufacturing and find some free time for a home experiment. And devices, as practice has proven, fully cope with their functions.
Please write comments in the block below. Ask questions on obscure and controversial issues, publish photos on the topic of the article. Tell us about how to assemble or upgrade a vacuum cleaner with your own hands, it is possible that your tips will be useful to visitors to the site.
 How to make a cyclone for a vacuum cleaner with your own hands: device + detailed assembly instructions
 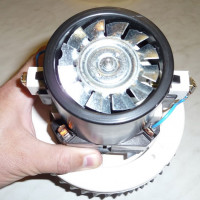 How to fix a vacuum cleaner with your own hands: the most common breakdowns and their repair
  Do-it-yourself Samsung vacuum cleaner repair: common causes of malfunctions + troubleshooting procedure
 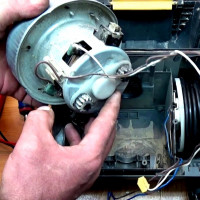 How to disassemble a Samsung vacuum cleaner: typical breakdowns + detailed instructions on how to disassemble a vacuum cleaner
  Which wireless vacuum cleaner is best for home: a ranking of the best models on the market
 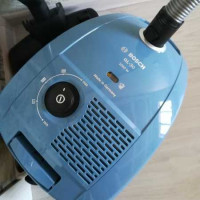 Overview of the vacuum cleaner with a dust collector Bosch GL30 BGL32003: a reliable unit in the basic assembly
  How much does it cost to connect gas to a private house: the price of organizing gas supply
  The best washing machines with dryer: model rating and customer tips
  What is the color temperature of light and the nuances of choosing the temperature of the lamps to suit your needs
  Replacement of a geyser in an apartment: replacement paperwork + basic norms and requirements
I liked the option of a portable handheld vacuum cleaner. That, perhaps, I would have used if my husband had done. But a home-made vacuum cleaner is unlikely to be useful to me, since I am sure that the quality would be lame. When cleaning, he would have definitely crumbled into pieces. Modern vacuum cleaners are assembled in factories, that is, parts are mounted tightly. And a homemade vacuum cleaner can fall apart at any time.
Well, this, of course, is more pampering or some kind of challenge - to make a vacuum cleaner with your own hands. I do not think that in practice, someone would prefer a homemade vacuum cleaner to a store one. Although, of course, situations in life are different and even such specific skills as the ability to make a vacuum cleaner can also come in handy somewhere. In any case, it is useful to understand how the technique works, it can come in handy if repairs are needed.
Well, why, now I'm going to make some kind of unfrozen installation for assembling sawdust in a workshop. I will collect it, of course, not from scratch, but using an old Uralets brand vacuum cleaner. He’s been in the garage for ten years because his parents bought a modern model at one time, and it was a pity to throw out a work item. I plan to adapt a cyclone-type container to it.