How to connect a dimmer: possible schemes + instructions for connecting with your own hands

Any modified device that makes the control of electrical appliances more comfortable is quickly becoming popular. This is especially true of the domestic sphere. The appeared regulators are not so demanded as usual switches, but have already confidently occupied their niche.
Consider how to connect a dimmer yourself, while respecting the rules and not making mistakes.
The content of the article:
Types of dimmers and design features
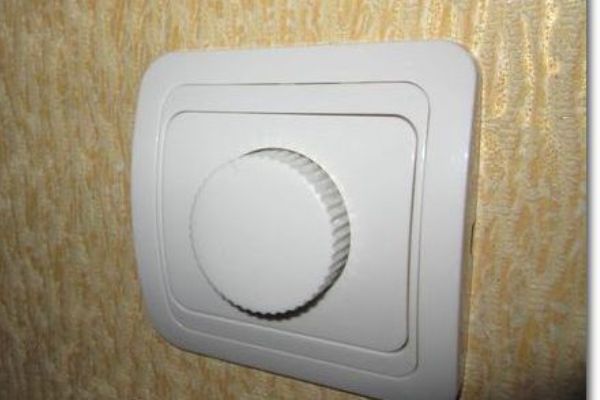
A dimmer or, in other words, a dimmer allows you to set different lighting modes from one point. Unlike two-key switch, which can carry out up to 3 positions of intensity, this device smoothly changes the brightness of one or more light sources from the weakest to the maximum.
To install it correctly, you need to understand the design. But here there is a difficulty regarding various species. On sale there are devices with different control methods.
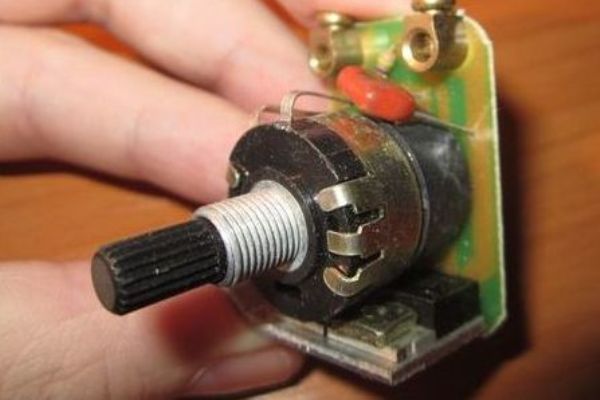
The most famous is the rotary mechanism, but in addition to it you can stumble on a button, electronic, remote and even acoustic.

Like a switch, a light regulator of the simplest design connects to a two-wire wire to break the power circuit.
The shape of the case, it resembles a standard electrical installation - a socket or switch - so it can be mounted both in the socket and just in a free wall niche. Fixing occurs due to the elastic metal foot-spacers or two feet, and the contacts are also standard.
The first contact is for the incoming phase coming from the distribution box, the second is for the outgoing load core, which is sent to the light source. As lighting devices, a table lamp, a floor lamp, a chandelier, a sconce or a group of spotlights can act.

The button control is reminiscent of a conventional switch: by briefly pressing the keys you can turn on / off the lamp. However, if you hold the key for 1-2 seconds, the light intensity will gradually change.
Modern electronic models can control simultaneously several lamps (from 2 to 5) installed in different rooms. Remote devices are equipped with a remote control. But you need to remember - the wider the functionality of the dimmer, the higher its cost.
If we talk about differences in installation, then the installation and connection of electronic devices is almost the same, with the exception of the nuances characteristic of individual manufacturers.
Analysis of connection schemes
The choice of scheme depends on many factors, including dimmer models, connection method - separate or with switches, the number of dimmers or lighting devices.
Also, a very important point should be taken into account: different devices are used for incandescent lamps, LED lamps and ribbons, low-voltage halogen light sources.

The most basic dimmer connection scheme can be easily confused with the circuit breaker mounting scheme, since it really repeats it one-on-one.
Wiring is usually done with a two- or three-wire wire, depending on the grounding system. In new homes, it is recommended to use a wire with three cores - VVGng with a cross section of 1.5 mm².

But often a chandelier has many horns, and a dimmer serves to control a group of separately located fixtures.
In this case, it is advisable to install two instead of one device so that you can control the lighting level of two separate groups.

How does the connection occur if, instead of the control settings for conventional or energy-saving lamps, it is necessary to establish LED adjustment?
Usually complete with ribbons or lights, along with a dimmer, there is an adapter from 220 V to 12 V. This can be a power supply that is inserted into a wall outlet.

In conjunction with a dimmer, one or more breakers - the power grid with such a kit becomes more perfect, in terms of ease of use.
The position of the switch is determined in different ways: it can stand between the shield and the dimmer or between the dimmer and the lamp.

Finally, we consider the arrangement of wires and terminals with a standard dimmer connection - nevertheless, it is the most popular in everyday life.

The listed examples are only a small part of various schemes for mounting the device.To make an error-free connection, it is necessary to use the manufacturer's instructions as the main guide.
Step-by-step replacement instructions
To purchase new dimmer, initially figure out what type of lamps he will service. Then, based on the allocated budget, they buy either an inexpensive Chinese model or the design of a trusted manufacturer - Makel, Schneider, Legrand.
If you need to install a new, just purchased device, perform the same actions as when installing the switch:
- change wiring or make sure old cables are suitable;
- if there is no separate machine in the switchboard, install it;
- prepare a place for installation;
- perform installation.
But more often it is necessary to make a replacement, that is, dismantle the switch housing and install a dimmer in its place. Consider this option.
Step 1 - turn off the lighting circuit
Any manipulations with electrical devices in the apartment should begin with a forced blackout on the shield, which is located either on the common ground, or inside the apartment, in the corridor (hallway).
This is provided for by safety standards and ensures that all connected devices and cables are kept in good condition. But the main goal is to protect one’s own health.

For additional insurance, either a tester or an indicator screwdriver to determine the voltage should always be at hand.
Checking the power line is the first action that should be performed at the beginning of installation or removal of the electrical installation, when connecting the wires. It is recommended that you use a tool with insulated handles and gloves coated with a thin layer of dielectric polymer.
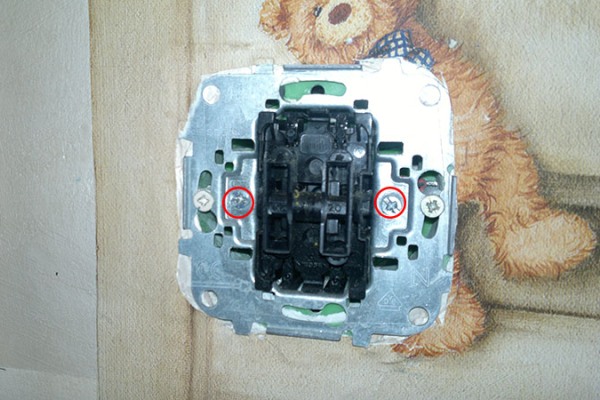
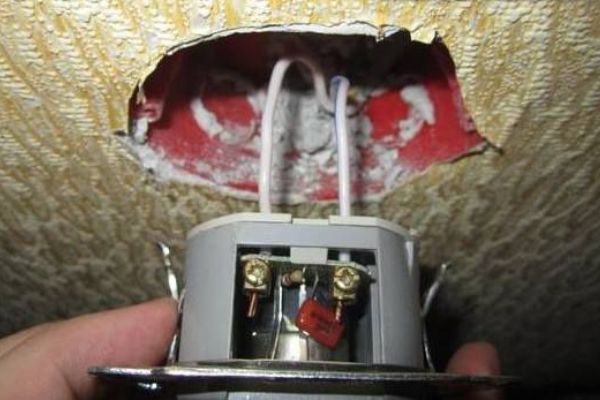
Step 2 - dismantling a conventional switch
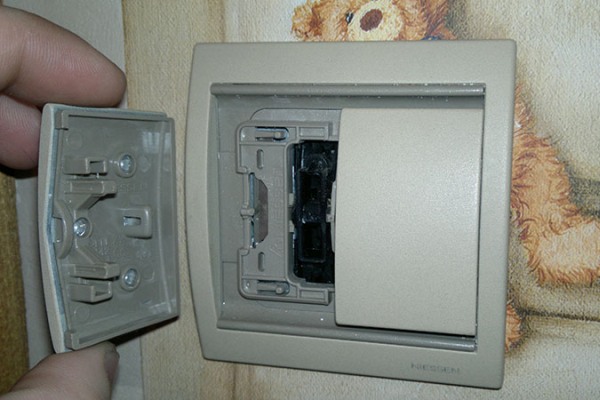
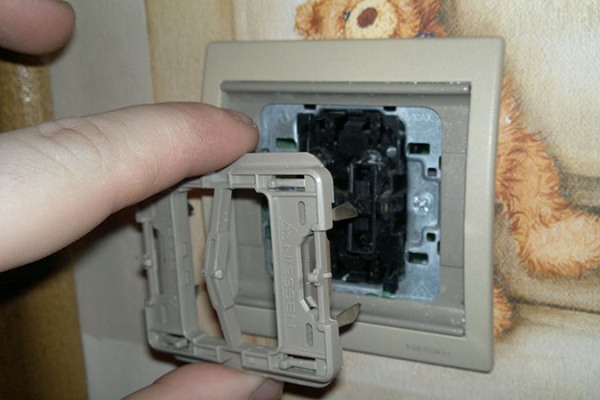
To remove the old device, you need to prepare a screwdriver. The process of dismantling takes only a few minutes and consists in sequentially removing first the decorative external part, and then the internal mechanism connected to the wires.
The last crucial moment is disconnecting the wires. The cores are carefully removed from the terminals, slightly loosening the holding screws or clamps.
The stripped ends must be kept intact so as not to cut the wires anew and not reduce their already limited length.
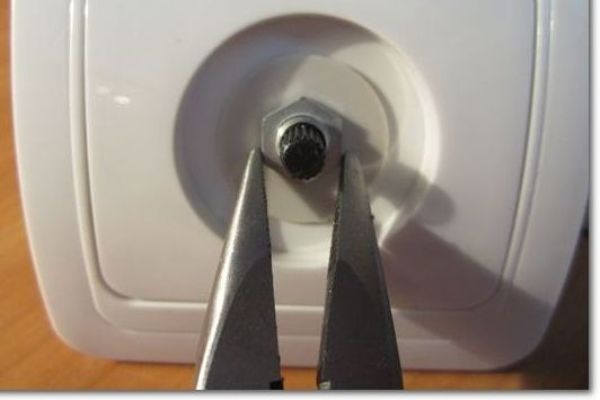
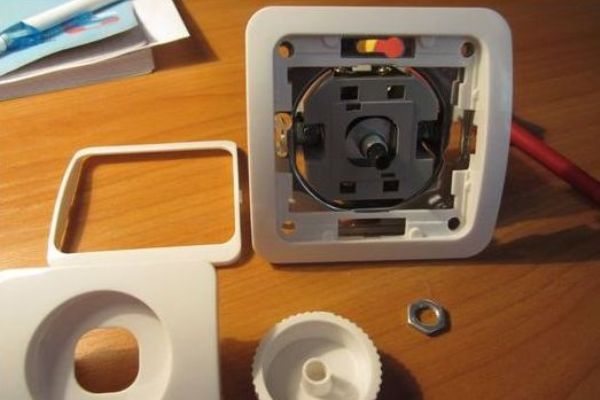
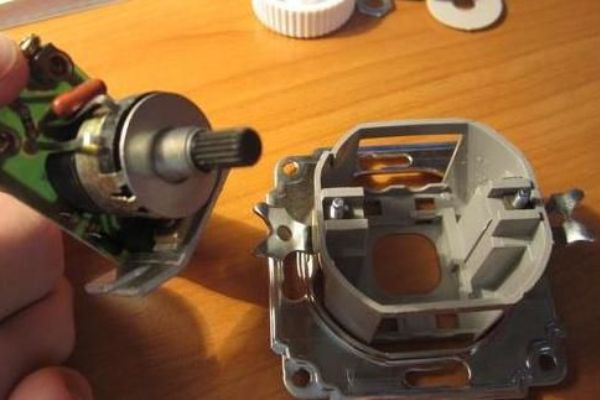
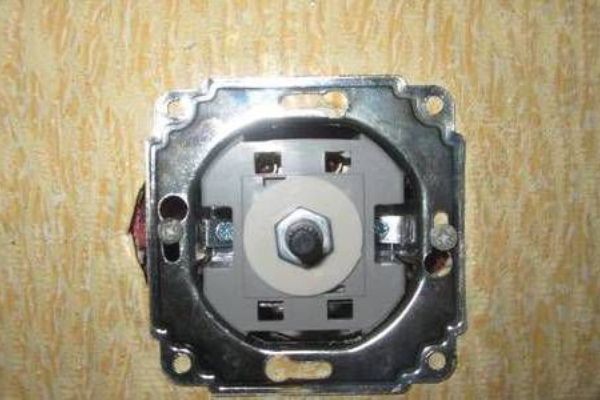
Step 3 - installing the control device
If the wires are in good condition, then nothing needs to be done to prepare. You should start by studying the instructions, which list the installation requirements, the main technical characteristics of the device, and most importantly - there is a wiring diagram.
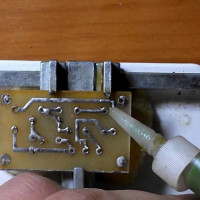
The dimmer is disassembled, familiarized with the design and in parts mounted in place of the switch.
After installation, a diagnosis should be made. To do this, connect the power, turn on the dimmer and try to change the light intensity by rotating the knob.
If all the work is done correctly, the brightness of the illumination gradually increases and also smoothly decreases.
Tips for choosing and using
Often, a dimmer is purchased to significantly reduce the cost of electricity. It should be understood that great savings will not work, but it will still be possible to reduce costs by 15-17%.

Remember that the mechanisms of regulators are sensitive to any excess temperature in the apartment, usually it is limited to +27 to -28 ° C.
For the normal functioning of the device, a minimum load of 40 W is required, otherwise the working mechanism will quickly fail.
If you try to connect the dimmer to lighting devices not listed in the manual, it will not work. The power of the device must necessarily correspond to the total power of the lamps.
Conclusions and useful video on the topic
Informative and useful videos shot by professional electricians and home craftsmen will help to understand simple designs and get acquainted with complex dimmers closer.
Acquaintance with the purchase made on the Internet. Device Diagnostics:
Connection of the universal built-in dimmer to the switch:
In what sequence is the installation made:
All the steps for installing a dimmer, from purchase to diagnostics, can be done independently. The main points that should be given special attention are the choice of the correct connection scheme and the device's compliance with the lighting fixtures according to their characteristics.
Do you have practical skills for installing a dimmer and can you share advice with visitors to our site? Or maybe there are questions about the topic of the article? Please share your experience, ask questions in the block under the article.
 Do-it-yourself dimmer: device, principle of operation + instructions on how to make a dimmer yourself
  How to connect a double switch to two bulbs: schemes + connection tips
 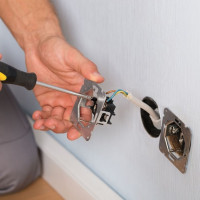 How to connect a passage switch: circuit analysis + step-by-step connection instructions
 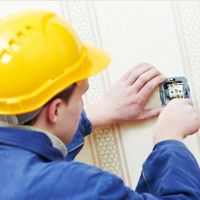 Connecting a double switch: standards and diagrams + installation instruction
 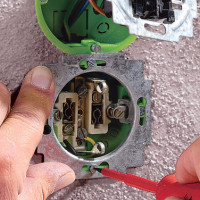 How to connect a switch with one key: rules and connection diagrams
 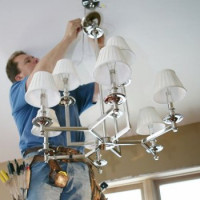 How to connect a light bulb through a switch: schemes and connection rules
  How much does it cost to connect gas to a private house: the price of organizing gas supply
  The best washing machines with dryer: model rating and customer tips
  What is the color temperature of light and the nuances of choosing the temperature of the lamps to suit your needs
  Replacement of a geyser in an apartment: replacement paperwork + basic norms and requirements
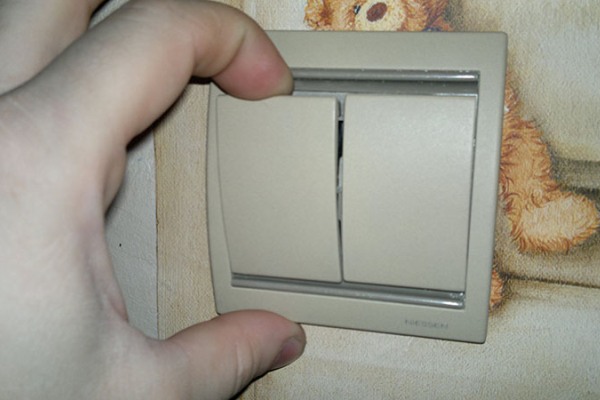